Overview
The Email Campaign feature lets you recruit participants for your Listen studies by sending email invitations directly from the platform.Note: Email campaigns are disabled by default. To enable this for your team, contact support@listenlabs.ai.
How It Works
There are three ways to recruit participants via email for a Listen study. You can choose the approach that best fits your organization’s setup: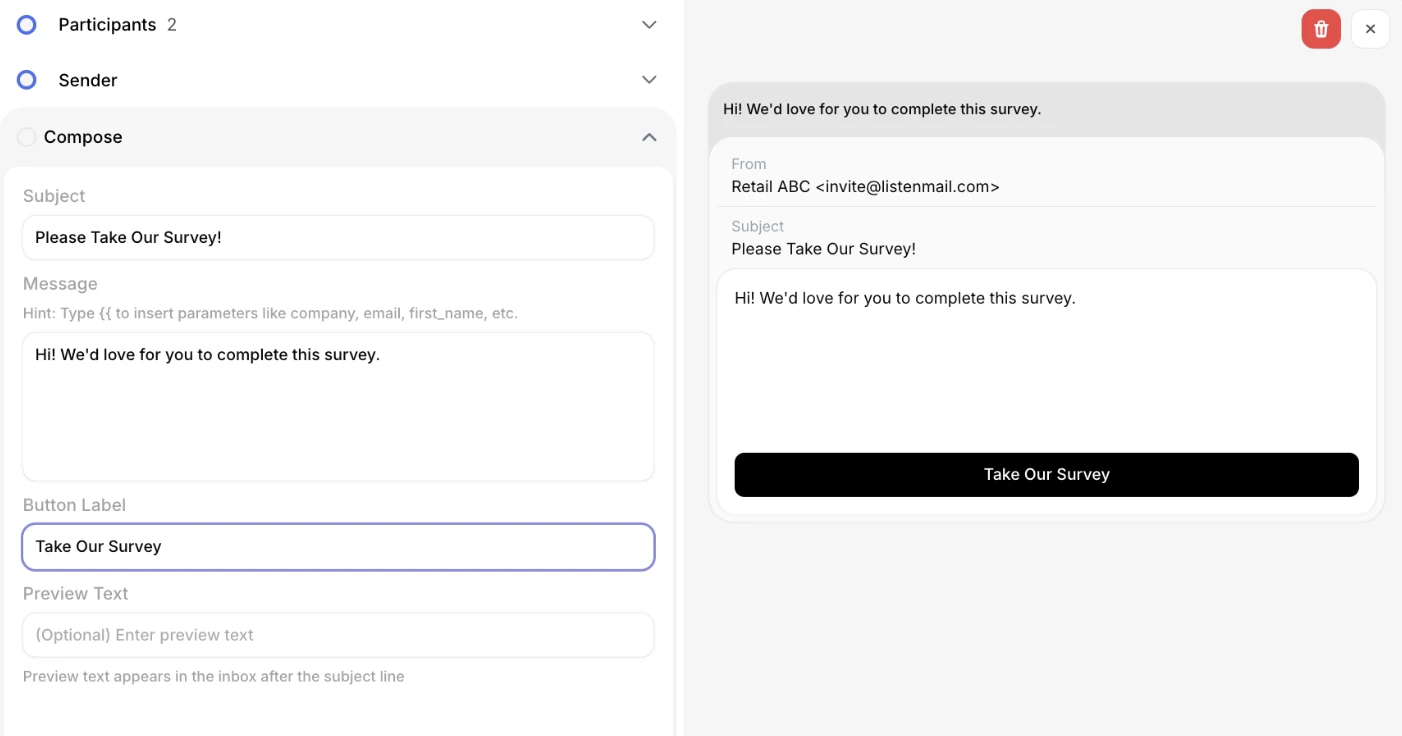
Sending a Campaign from Listen
This section covers Options A and C, where you send emails directly through the Listen platform.a. Prepare Your Contact List
Create a CSV file with your contacts. At minimum, include an email address column. You can also include first name, last name, and any custom fields you’d like to use for personalization.b. Upload Contacts
- Go to the Recruit tab in your project.
- Click “Add Email Campaign.”
- Select your CSV file. Listen will parse the file and show you a preview of the contacts it found.
- Press “Compose Mail”. Your contacts will appear in the campaign dashboard. Click continue.
- Edit email. You can edit what the email will look like. The left hand side is the edit section, the right hand side is the working draft of what a recipient would see.
- Send! You can send a test email to yourself, or feel free to fire off the emails!
Costs & Credits
Understanding how credits and incentives work is important for planning your campaign budget.a. Credit Usage
Each completed study response costs 1 credit from your account balance. Credits are only consumed when a participant completes the study — sending emails and receiving clicks do not use credits.b. Participant Incentives
Participants receive an incentive for completing your study. The incentive amount is set when you configure your study, and the cost of incentives is your responsibility as the customer. Incentives are separate from credit costs.Custom Domain Setup (Option C)
For the best email deliverability, we recommend configuring Listen’s email sender (Postmark) to send from your own domain. This means recipients see your company’s email address in the “From” field, and email providers trust the message because it’s properly authenticated.a. Setup Steps
- Request DNS records from your CSM. We’ll provide a set of DNS records specific to your domain.
- Add the records to your DNS provider. Your IT team or domain admin adds the records to your domain’s DNS configuration. The exact steps depend on your DNS provider.
- Ready to send emails per the steps provided in the Section above “Sending a Campaign from Listen”.